
People often mistakenly assume that cats don’t need as much mental and physical stimulation as dogs. After all, they’re independent and can take care of themselves, right? Well, that’s not necessarily true. Cats need entertainment, just as dogs do! Especially if they’re indoor cats.
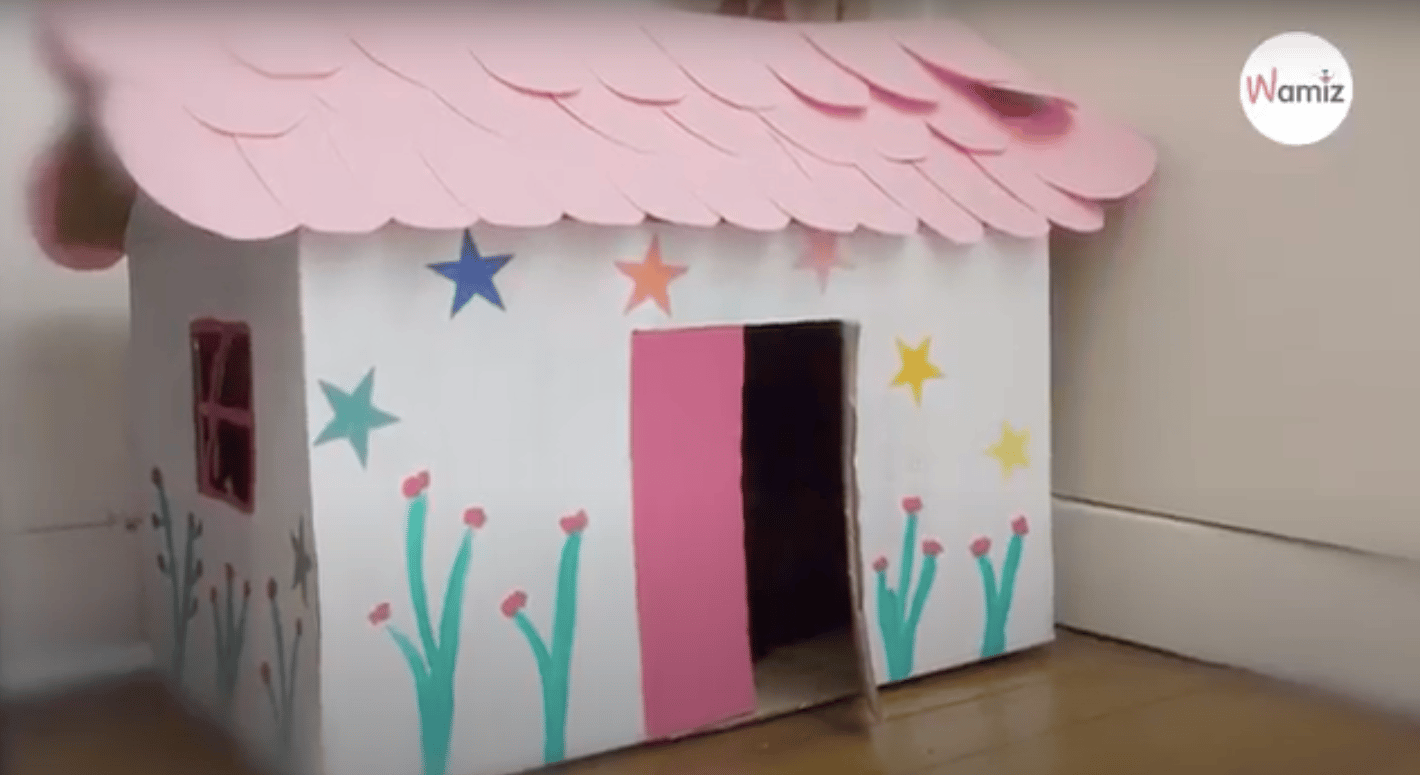
So we’ve racked our brains to find a great DIY project you could undertake for your cat. And we got it: A cardboard cat house! Cats love boxes - you probably know this if you have one at home. They’ll never pass up an opportunity to be inside one. So why not give this DIY cardboard cat house a go? We guarantee you it’ll make your feline friend VERY happy!
DIY cardboard cat house: What you’ll need
The great thing about this DIY cat house is that you probably have everything you’ll need in your house already - and you can make it out of completely recyclable materials!


- Cardboard box
- Construction paper
- Paint
- Paintbrush
- Scissors
- Cutter
- Pencil
- Scotch tape
- Decorations of your choosing (is it Christmas, Halloween, your pet’s birthday?)
How to make an indoor cardboard cat house
This is a very simple build, with only 10 steps to follow. It could also be great fun for your kids to join in! Just make sure you’re always supervising them, as the steps below do include cutting with scissors and a cutter.
- Get a clean cardboard box.
- Seal the bottom of the box with duct tape.
- Cut the top flaps of the box into a triangle shape - this step is very important for the building of the roof.
- Draw the door in pencil, then cut along the marked line using a cutter.
- Draw windows in pencil, then cut along the marked lines using a cutter.
- Paint the facade using a large brush.
- Paint any smaller details (such as the window frames) using a smaller brush and a different colour.
- Get a different piece of cardboard for the roof, and fold it in half.
- Cut construction paper into the shape of tiles using scissors.
- Seal the loose sides of the house walls and roof with glue.
Time to let your cat into the house! We bet you won’t be seeing much of them anymore after they test out their cool, renovated box!
⏰ Preparation time: It’ll take you about an hour to make the cat house. However, you should let the paint dry for at least 24 hours before letting your cat explore it!
? Wamiz tip: Before you start on the cat house, make sure you’ve purchased pet-friendly paint that won’t be toxic to your cat. Usually, child-friendly paint is also pet-friendly.
? Wamiz cat rating: 10 out of 10. Bibou, one of the team’s cats, tested the box and our colleague has hardly seen him since. Occasionally, he sticks his paws out of the window to make his presence known, but otherwise, he’d just rather be relaxing in his cool new house than to be anywhere else!
So what do you think? Will you give it a go?
